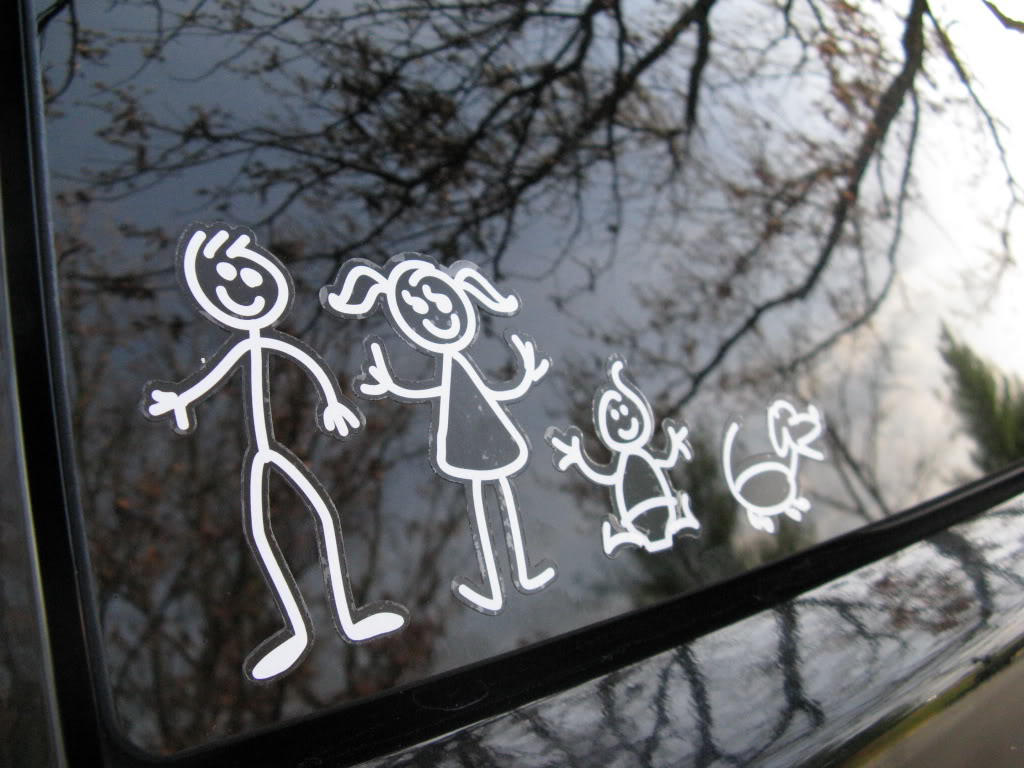
How to Successfully Place A Sticker on Your Car’s Window
 If you want to add your own personal touch to your car and make it unique, then putting a sticker on the window is one simple and inexpensive way to do just that. While this isn’t too difficult to handle on your own, it can be tricky, especially if you’ve never done it before. The last thing you want to do is apply the sticker incorrectly, as you could ruin it. When you follow the right steps, putting a sticker on your car’s window is a walk in the park.
1. Park Your Car in a Location Where Weather Isn’t an Issue
There are two basic requirements for where you park your car when you’re about to put a sticker on it: dry and wind-free. Obviously, you won’t have much luck applying that sticker if it’s pouring down rain, so don’t even try it if you spot some gray clouds. Wind could blow your sticker around right as you try to put it on the window. Pick a sunny spot on a nice clear day, or apply the sticker in a garage.
2. Prepare the Window
It’s crucial that you make sure that you clean the area on the window where you plan to place the sticker, according to Pro SportStickers.com. If there’s any dirt or debris there when you put the sticker down, it will pick that up and won’t stay on your window as well.
As far as window-cleaning options go, any cleaner that dries quickly will suffice. Soap and water are fine, and rubbing alcohol works particularly well due to the quick dry time and lack of residue. Make sure you don’t use Windex or anything similar, as these types of cleaners leave a residue that will affect the sticker.
3. Decide Exactly Where You’ll Place the Sticker
Now, it’s time to figure out exactly where to put the sticker on your car’s window, with “exactly” being the key word. You don’t want to finish up the process only to realize that your sticker is crooked or not centered. One of the best ways to get the positioning of your sticker just right is measuring the area first. That way, you can find the perfect spot. Use tape to mark your measurements and you’ll have an easy time positioning your sticker.
4. Remove the Paper Backing
Once you have the position picked out, you can start slowly peeling the sticker off of its paper backing. Make sure that the transfer tape is attached to the sticker as you pull it off. If not, put the sticker back on completely and press the transfer tape onto it. Try not to touch the sticker backing at all during this process.
If you have a small sticker, you can take the entire paper backing off. For larger stickers, it’s better to only partially remove the paper backing, and then gradually remove the rest as you apply the sticker.
5. Apply the Sticker
Holding the sticker tight at its edges, place one side of it down by the measurements you marked earlier. Carefully apply the remainder of the sticker, smoothing it out along the way. If you’re applying a large sticker and you kept the paper backing partially on the sticker, gradually remove it as you apply more of the sticker. Once you have the sticker entirely on the window, look for any air bubbles and use either a plastic card, such as a credit card, or a squeegee to get rid of them.
6. Wait and Remove the Transfer Tape
The sticker needs to dry before you remove the transfer tape from it. If your car is in the sun, you may be able to remove the transfer tape in as little as one hour, but ideally you should give it a day. Grab one corner of the transfer tape and start to pull it off the sticker. For best results, remove it at an angle and take your time.
If you followed all the steps, you should end up with a well-placed sticker that looks perfect. Remember, the most important part of applying a sticker to your car window is being patient. Don’t rush it and you should be pleased with the results.


